Starting Strength pioneer, Mark Rippetoe addresses a frequently asked question about muscle injury and rehab in his #AskRip video. I figured many of you may have the same type of question rolling around in your head and wanted to share with you the details of the Starr Rehab Protocol created by Bill Starr. Keep in mind that this protocol is only recommended for muscle belly injuries. If you have disc, nerve associated, tendon/ligament or injuries then this isn’t for you.
Who is Bill Starr?
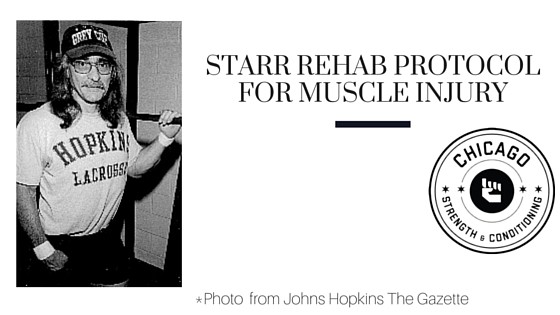
William Asel (Bill) Starr was a legendary coach, weightlifter, and powerlifter. He is widely known for pioneering the 5×5 routine. In 1979 he met a student at Midwestern State named Mark Rippetoe and became his mentor. The Starr Rehab Protocol was developed by in the early seventies when he himself experienced a muscle injury who then passed the protocol down to Rippetoe.
The Question: I have a muscle injury, what is the most efficient way to rehab?
First let’s define the term “muscle belly” as it seems there is some confusion. Anatomically speaking the term “muscle belly” refers to “the whole unit of a skeletal muscle, the level of organization at which the muscle is named (eg biceps brachii, or pectoralis major). Muscle bellies of skeletal muscle can be found in a variety of shapes and sizes, but all have the same basic composition.” The rehab protocol I recommend is the Starr Rehab Protocol. If followed correctly it can have you back at your original weight you were lifting at when injured in approximately two weeks.
Starr Rehab Protocol
Once you’re injured you wait approximately two days until the pain starts to blur or get fuzzy. The terms “blur” or “fuzzy” mean that the pain is no longer acute and you can’t exactly pinpoint where the pain is coming from anymore. The theory is that if you rest longer than the two days the muscle tissue will start to create scar tissue and what you want the muscle fibers to do is to reorganize in their normal structure. That means waiting to rehab is typically not better here. The injury would need to be pretty severe to warrant four days of rest.
Once the pain has blurred, go to the gym and choose a lift that directly works the injury. The key here is to make sure and lift with perfect form using light weights and high reps. For example, if the pain was in your hamstring you could perform squats. You’d start off by doing 3x25x45 (3 sets of 25 with the empty bar). You will feel pain at the injury site, but it should stay the same or feel better towards the end of the session. If the pain increases, you need to rest more.
The very next day squat again. This time add weight to one (or all) sets. For example:
Day One
- 3x25x45 lb.
Second Day
- 2x25x45 lb.
- 25×55 lb.
Third Day
- 25×45 lb.
- 25×55 lb.
- 25×65 lb.
I should note that this isn’t an exact science and some people may be fine with Day 1: 3x25x45 and Day2 doing: 3x25x55, Day3 doing: 3x25x65. Also note that for older populations squatting every day could actually be too stressful; they would be better served by following a similar progression every other day.
Continue increasing the weight and squatting 3×25 daily for 10 days. After 10 days, increase the weight again and decrease the volume to 3×15. Then again to 3×10, and finally to 3×5. This whole process will take approximately two weeks of squatting every day. After two weeks you should be at (or above) the weight you injured yourself with.
Don’t Forget to Ice
You should be using ice on your injury consistently throughout this process. Keep ice on the injury in 20 minute increments. One word of caution is to not keep ice on longer than 20 minutes at a time as it could cause more damage. Definitely use ice immediately after the injury, and immediately after every workout.
If you’re in the Chicago area and need a Starting Strength Coach to help you through this process, hit me up using the link below!
